Volkswagen ID.4: Anti-roll bar
Assembly overview - anti-roll bar
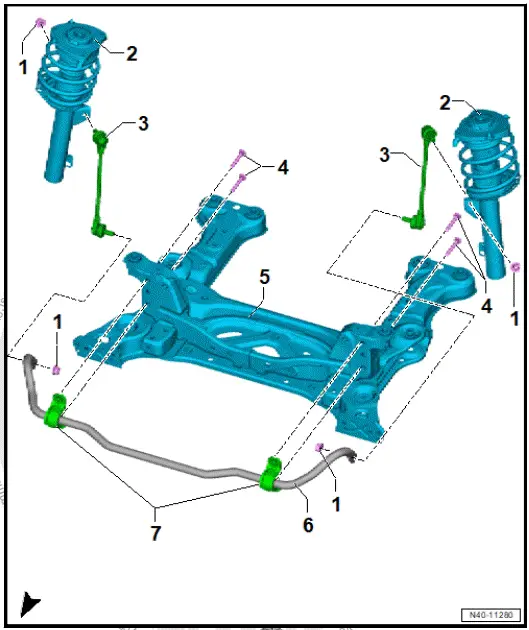
- Nut
- Suspension strut
- ⇒ Rep. gr. 40 ; Assembly
overview - suspension
strut
- ⇒ Rep. gr. 40 ; Removing
and installing
suspension strut
- Coupling rod
- ⇒ Rep. gr. 40 ; Removing
and installing
coupling rod
- Bolt
- Qty. 4
- Renew after removing
- M10 × 75
- 50 Nm + 180º
- Subframe
- ⇒ Rep. gr. 40 ; Assembly
overview - subframe
- ⇒ Rep. gr. 40 ; Removing
and installing
subframe with steering
rack
- ⇒ Rep. gr. 40 ; Fixing
subframe in position
- Anti-roll bar
- ⇒ Rep. gr. 40 ; Removing
and installing
anti-roll bar
- Bonded rubber bush
Removing and installing anti-roll bar
Special tools and workshop equipment required
- ball joint puller - 3287A
Removing
- Detach wheels on front axle ⇒ Rep. gr. 44 ; Removing and
installing wheel .
- Remove front underbody cladding ⇒ General body repairs,
exterior; Rep. gr. 66 ; Underbody cladding; Removing and
installing front underbody cladding .
- Remove front left and front right wheel housing liner ⇒ General
body repairs, exterior; Rep. gr. 66 ; Wheel housing
liner; Removing and installing front wheel housing liner .
- Remove radiator cowl with radiator fan ⇒ Electric drive,
rear-wheel drive EIP220 and all-wheel drive EIA200,
EIP220; Rep. gr. 19 ; Radiator/radiator fan; Removing and
installing radiator cowl with radiator fan .
- Disconnect electrical connector -1- on refrigerant pressure
and temperature sender 3 - G827-2-
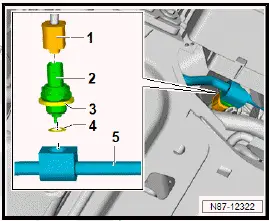
Removal and installation are described for the left side of vehicle
as an example.
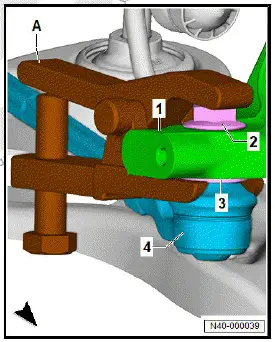
- Loosen nut -2- on track rod ball joint -4-, but do not unscrew
it completely. Counter-hold on pin using a suitable tool
Important
- To protect threads, nut -2- must remain screwed onto pin a
few turns.
NOTICE
Risk of damage to wheel bearing housing! Loosened bushes
on wheel bearing housing due to incorrect placement of ball
joint puller.
- Ball joint puller must be supported on bush and not on
wheel bearing housing.
- Use ball joint puller - 3287A- -A- to press track rod ball joint
-4- off wheel bearing housing -1-.
- Unscrew nut -2-.
- Unscrew nut -5- for coupling rods -2- from anti-roll bar -1-
on both vehicle sides. Counter-hold at coupling rod -1- with
multi-point socket head.
- Unscrew bolts -6- from bearings -4-.
- Remove anti-roll bar -1- from subframe -3-, and guide it out
Installing
Install in reverse order of removal, observing the following:
Tightening torques
- ⇒ Rep. gr. 40 ; Assembly overview - anti-roll bar
Removing and installing coupling rod
Special tools and workshop equipment required
- Tool insert - T10663-
- digital torque wrench - V.A.G 1756B
Removal
and installation are described for the left vehicle side
as an example.
Removing
- Remove wheel ⇒ Rep. gr. 44 ; Removing and installing
wheel .
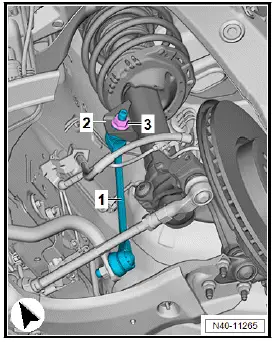
- Unscrew nut -3-. Counter-hold at multi-point socket head,
coupling rod -1-.
- Pull coupling rod -1- out of suspension strut -2-.
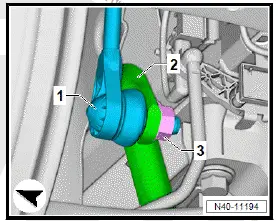
- Unscrew nut -3-. Counter-hold at multi-point socket head,
coupling rod -1-.
- Pull coupling rod -1- out of anti-roll bar -2-
Installing
Install in reverse order of removal, observing the following:
- Tighten nut -3- using insert tool - T10663- and digital torque
wrench - V.A.G 1756B- .
- Enter setting into torque wrench.
Important
- Setting is either measurement indicated on the insert tool or
specification from ⇒ Electronic parts catalogue (ETKA) .
- Counter-hold at multi-point socket head, coupling rod -1-.
Tightening torques
- ⇒ Rep. gr. 40 ; Assembly overview - anti-roll bar

Volkswagen ID.4 (E21) 2021-2026 Service Manual
Anti-roll bar
Explore moreFeatured ID.4 Guides
Selected owner and service information from our Volkswagen ID.4 manual library.
 ID.4 Guide
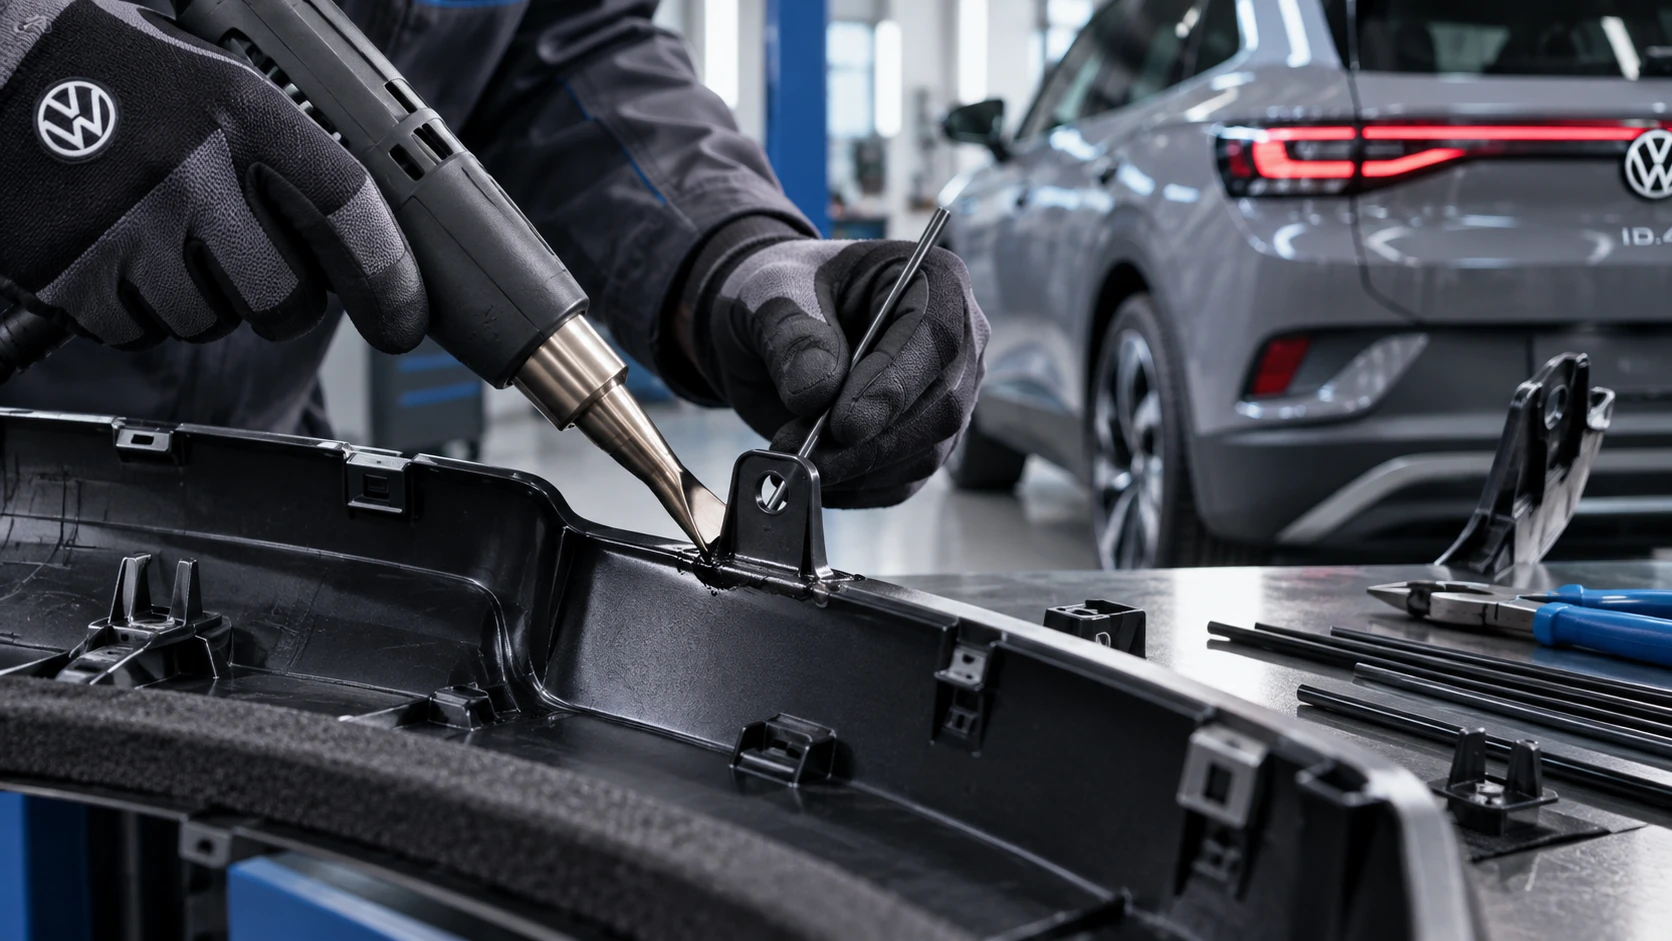
Professional Volkswagen ID.4 repair guidance for welding plastic attachments, securing damaged mounting points and restoring plastic components correctly.
Read guide →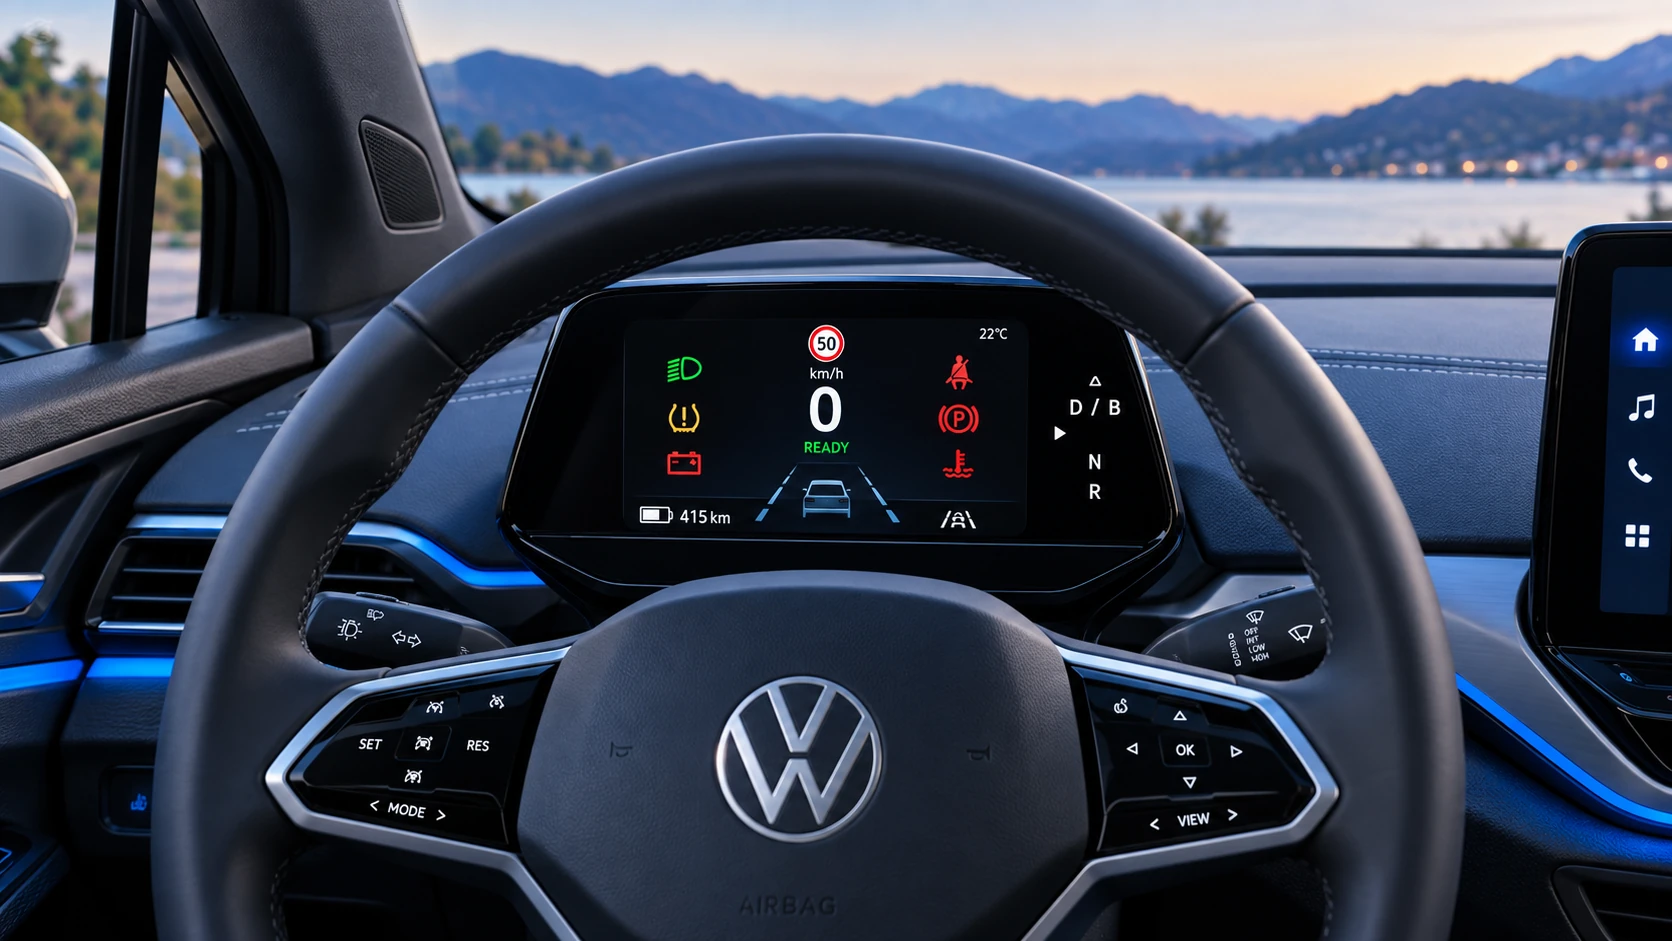 ID.4 Guide
A practical overview of Volkswagen ID.4 instrument cluster symbols, warning lights and status indicators to help drivers understand the display quickly.
Read guide →