



Apple CarPlay
See how Apple CarPlay works in the Volkswagen ID.4, including smartphone integration, navigation, calls, music and key infotainment functions.
Read guide




The overview is shown for the left side of vehicle of a left-hand drive vehicle as an example.
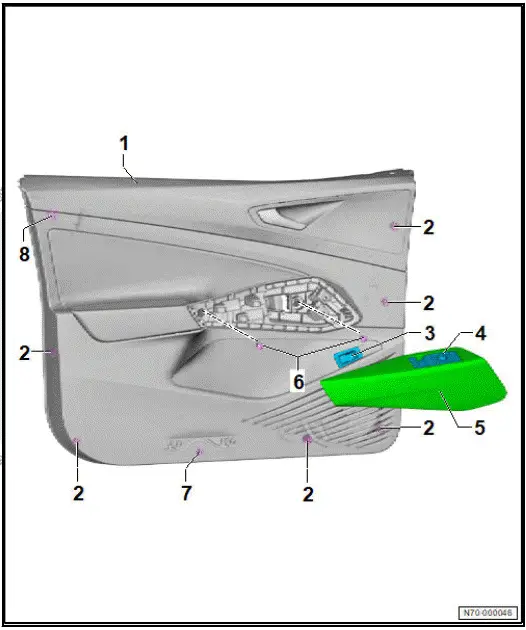
Special tools and workshop equipment required
Removal and installation are described for the left side of vehicle as an example.
Removing
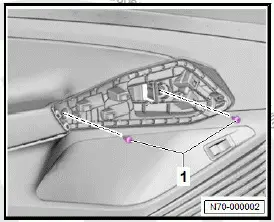
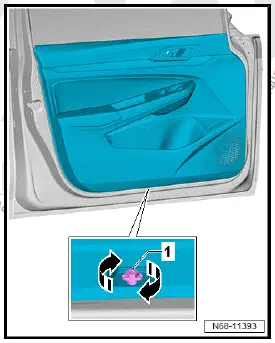
Note
The upper left crash clip -1- is automatically released as soon as the front door trim -2- is lifted out of window slot inner seal.
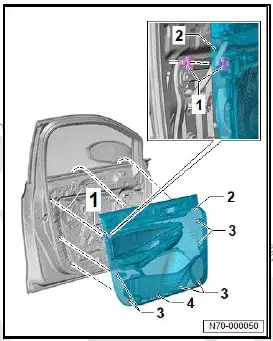
NOTICE
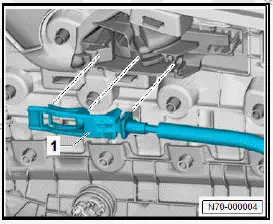
Risk of damage to the Bowden cable due to deformation.
Installing
Install in reverse order of removal, observing the following:
NOTICE
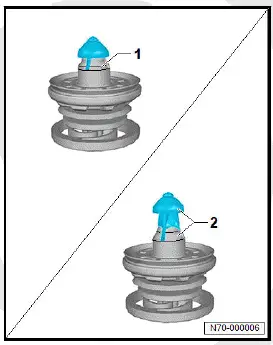
Risk of damage to the locking mechanism.
Tightening torques
Special tools and workshop equipment required
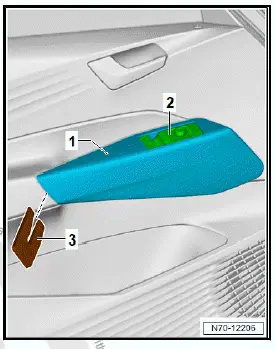
The operating unit for window regulator in driver door - EX36- , front passenger side window regulator button - E716- and front passenger side interior locking button for central locking system - E309- will henceforth be referred to as "operating unit".
Removal and installation are described for the left side of vehicle as an example.
Removing
Installing
Install in reverse sequence of removal.
Selected owner and service information from our Volkswagen ID.4 manual library.
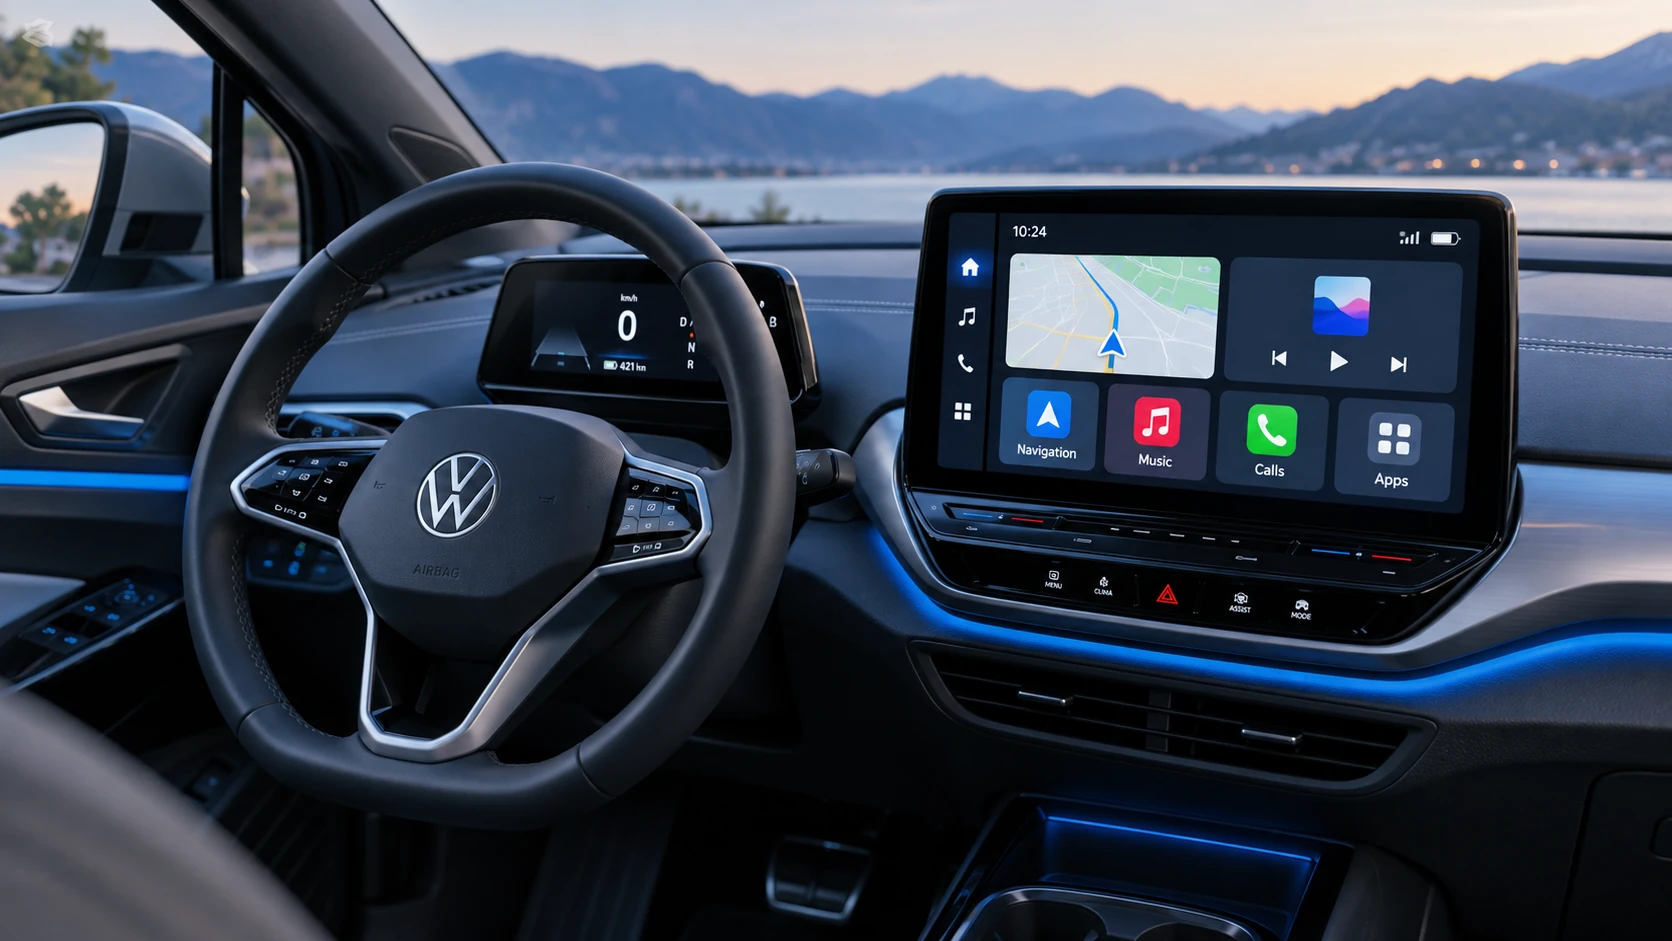 ID.4 Guide
See how Apple CarPlay works in the Volkswagen ID.4, including smartphone integration, navigation, calls, music and key infotainment functions.
Read guide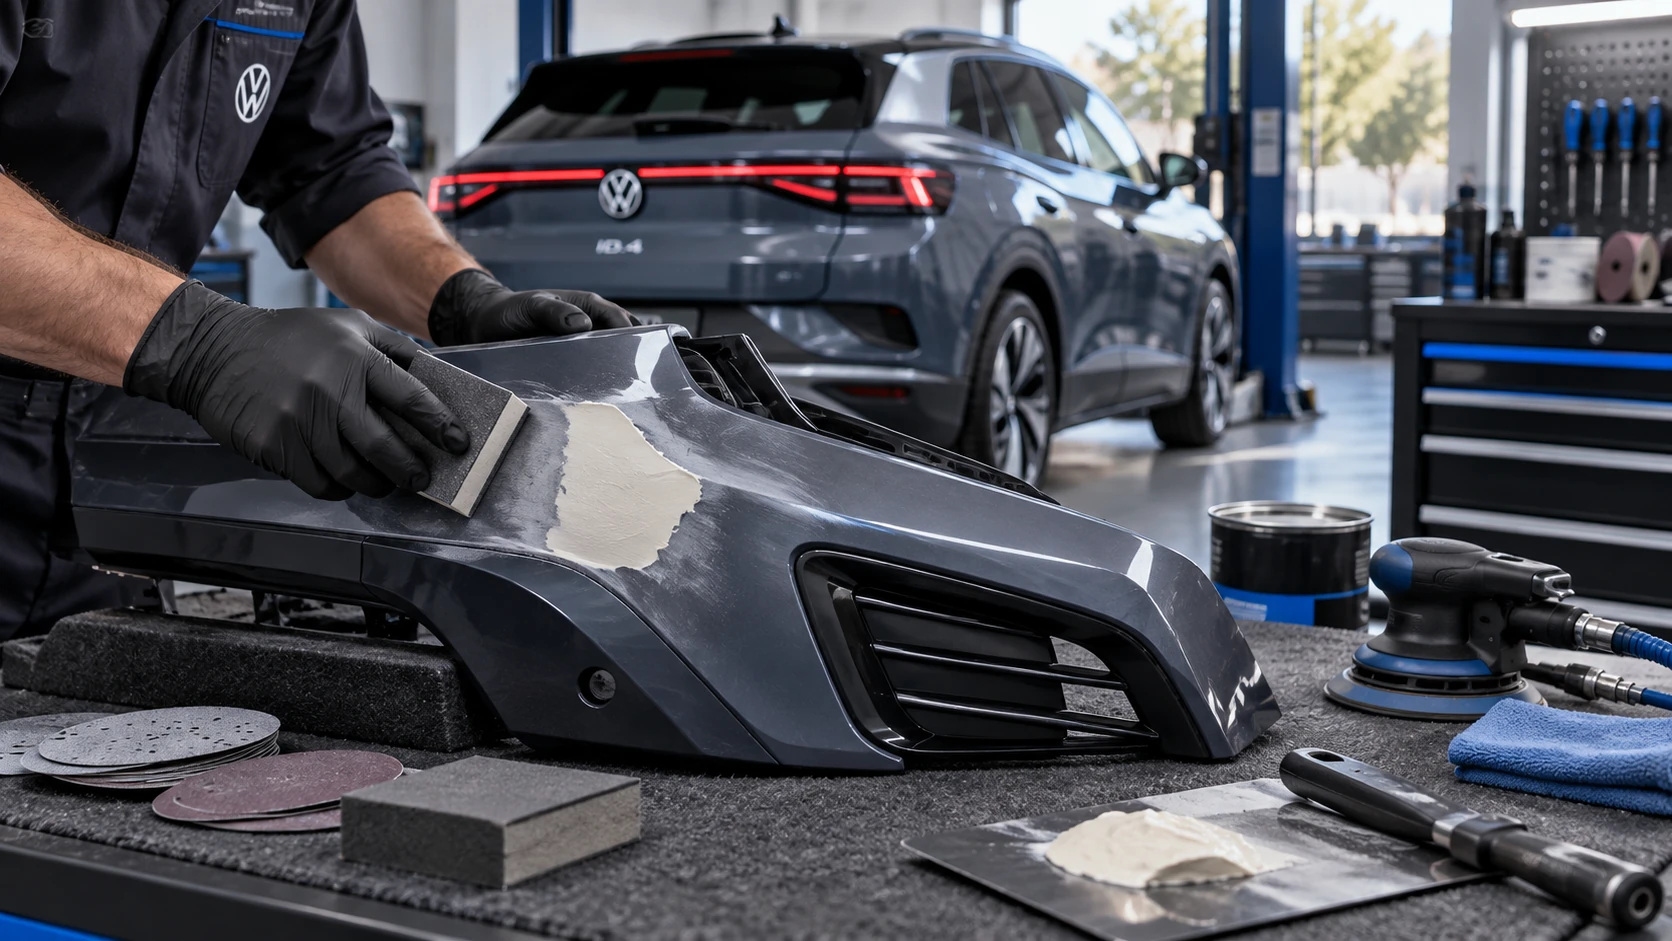 ID.4 Guide
Volkswagen ID.4 plastic repair procedures covering surface preparation, filler work, sanding and restoration of damaged plastic exterior components.
Read guide