Volkswagen ID.4: Rear cross member
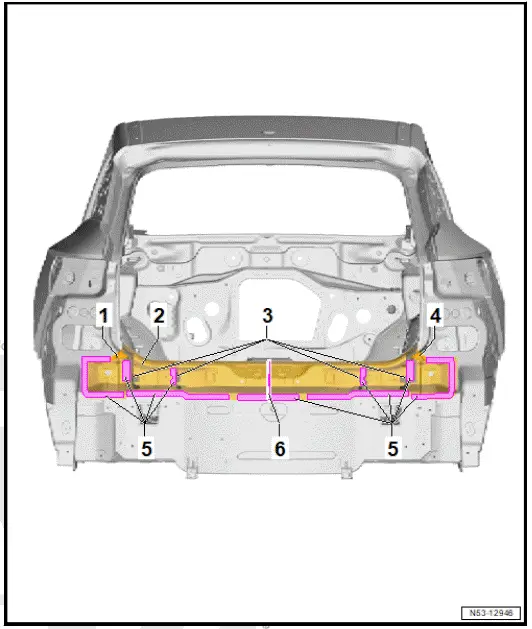
Assembly overview - rear cross member
- Stop buffer mounting
- Rear cross member
- ⇒ Rep. gr. 53; Renewing
rear cross member
- Web plate
- Stop buffer mounting
- Bonded area
- Separating cut
Renewing rear cross member
WARNING
Gases/vapours hazardous to health are generated when
welding, soldering or cutting using tools which produce sparks
in foam-treated areas.
- Do not weld, solder or cut closer than 15 mm to moulded
foam inserts.
- Use an extraction system during work.
NOTICE
If separating cuts are made too deep, underlying reinforcement
could be damaged.
- Only make separating cuts with body saw.
- Rewelding of reinforcements is not permitted due to safety
reasons.
NOTICE
If welds are positioned too far on outside, strength could be
impaired
- RP weld points must be placed as far as possible from
outer edge of welding flange.
NOTICE
If adhesive is applied prematurely, bond could be impaired
- New part must be welded in within 90 minutes.
NOTICE
Observe safety information ⇒ Rep. gr. 00; Safety information
Only tools and workshop equipment authorised by Volkswagen
AG may be used ⇒ 2.1
Removing
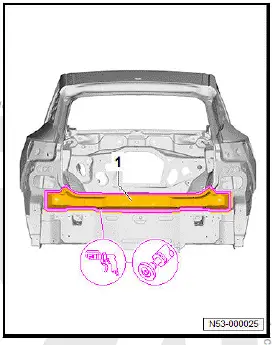
- Remove rear cross member -1-.
- Remove remaining material.
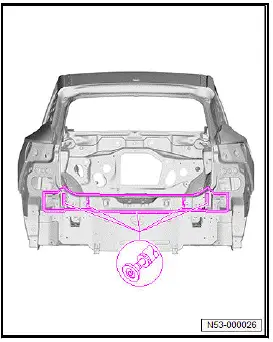
- Completely remove remaining adhesive.
- Grind bonding surfaces and welding surfaces back to bare
metal and clean.
Installing
Replacement parts
- For allocation of 2-pack body adhesive, see ⇒ Electronic
parts catalogue (ETKA)
Important
- New parts must be adapted and attached with the vehicle
standing on its wheels or straightening bracket set.
- Lightly sand down bonding surfaces in area of web plates.
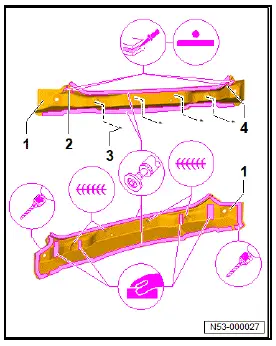
- Grind bonding surfaces and welding surfaces on new part
-1- to -4- down to bare metal and clean.
- Drill 8 mm diameter holes for SG plug weld seam in new part
-1-.
- Drill 8 mm diameter holes for weld studs -3- in new part -1-.
- Adapt weld studs -3- to fit and fix in position.
- Weld in weld studs -3-, SG continuous weld seam.
- Apply 2-component body adhesive to entirety of new part -2-
and -4-.
- Adapt new part -2- and -4- to new part -1-, and fix in position.
- Weld in new part -2- and -4- on new part -1-, RP spot weld
seam.
- Apply 2-component body adhesive to entire surface.
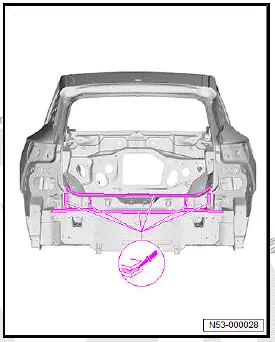
- Adapt new part -1- to fit and fix in position.
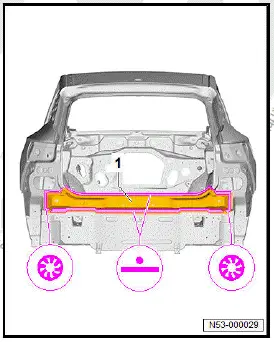
- Check fit with add-on parts.
- Weld in new part -1-, RP spot weld seam and SG plug weld
seam.
- Weld separating cut for partial replacement, MIG solder
seam or SG stepped weld seam are permitted.

Volkswagen ID.4 (E21) 2021-2026 Service Manual
Explore moreFeatured ID.4 Guides
Selected owner and service information from our Volkswagen ID.4 manual library.
 ID.4 Guide
A practical overview of Volkswagen ID.4 instrument cluster symbols, warning lights and status indicators to help drivers understand the display quickly.
Read guide →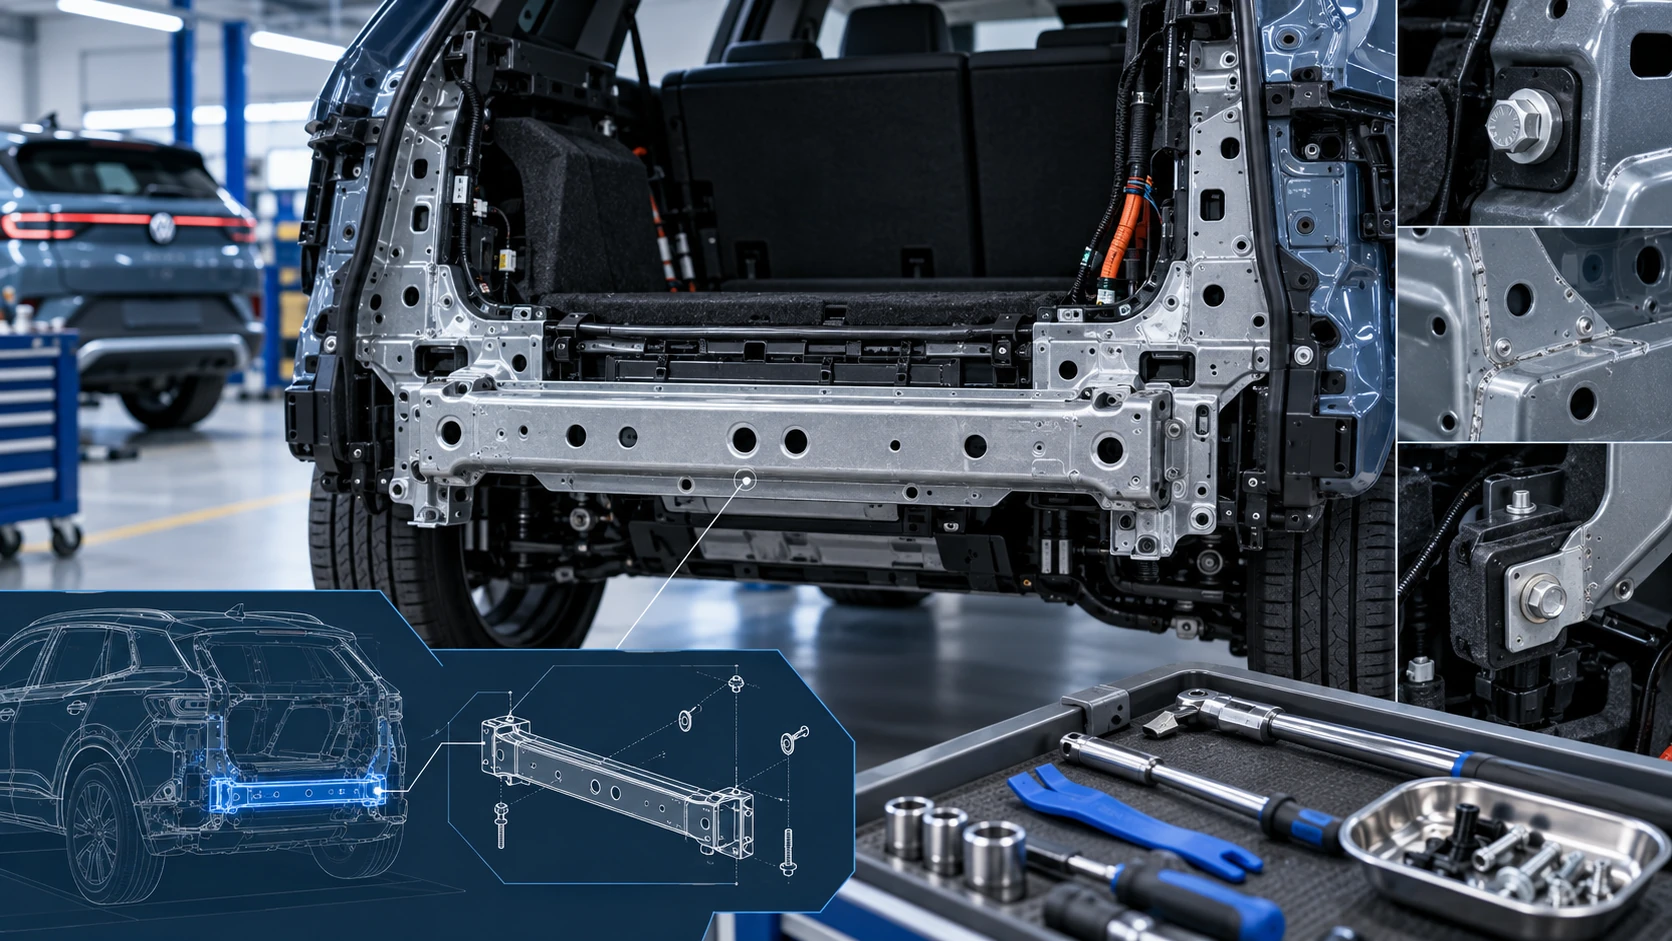 ID.4 Guide
Service information for the Volkswagen ID.4 rear cross member, including component location, attachment points and repair-oriented removal and installation guidance.
Read guide →