

English German French Spanish
Volkswagen ID.4 Owners & Service Manuals

Volkswagen ID.4: Anti-roll bar

Volkswagen ID.4 (E21) 2021-2026 Service Manual / Running gear, axles, steering / Rear suspension / Anti-roll bar

Assembly overview - anti-roll bar

Volkswagen ID.4. Assembly overview - anti-roll bar

  1. Anti-roll bar
  • ⇒ Rep. gr. 42 ; Removing and installing anti-roll bar
  1. Mounting
  • Part of anti-roll bar
  1. Coupling rod
  • ⇒ Rep. gr. 42 ; Removing and installing coupling rod
  1. Subframe
  • ⇒ Rep. gr. 42 ; Assembly overview - subframe
  • ⇒ Rep. gr. 42 ; Fixing subframe in position
  • ⇒ Rep. gr. 42 ; Taking up weight of subframe using scissor-type assembly platform
  • ⇒ Rep. gr. 42 ; Removing and installing rear axle
  1. Upper rear suspension link
  • ⇒ Rep. gr. 42 ; Assembly overview - suspension link
  • ⇒ Rep. gr. 42 ; Removing and installing upper rear suspension link
  1. Bolt
  • Qty. 2
  • Renew after removing
  • M 10 x 75
  • 50 Nm +180º
  1. Nut
  • Qty. 2
  • Renew after removing
  • M 10
  1. Inner drive
  2. Nut
  • Qty. 2
  • Renew after removing
  • M 10
  • 55 Nm
  1. Bolt
  • Qty. 4
  • Renew after removing
  • M 8 x 30
  • 20 Nm +90º

Removing and installing anti-roll bar

Special tools and workshop equipment required

  • engine and gearbox jack - VAS 6931-
  • gearbox support - T10337-

Removing

  • Remove rear underbody cladding ⇒ General body repairs, exterior; Rep. gr. 66 ; Underbody cladding; Removing and installing rear underbody cladding .
  • Remove skid plate ⇒ General body repairs, exterior; Rep.

    gr. 66 ; Underbody cladding; Removing and installing skid plate .

  • Fit gearbox support - T10337- -A- to engine and gearbox jack - VAS 6931- -B-.
  • Position gearbox support - T10337- -A- on anti-roll bar -1-.

Important

  • Mounting of gearbox support - T10337- -A- only contacts anti-roll bar -1-.
  • Push anti-roll bar -1- upwards.

Volkswagen ID.4. Removing and installing anti-roll bar

  • Unscrew nut -6- from coupling rod -1-. Counterhold on multipoint socket head on coupling rod -1- when doing this.
  • Pull coupling rod -1- out of anti-roll bar -5-.

Volkswagen ID.4. Removing and installing anti-roll bar

  • Unscrew bolts -3- and -4- for anti-roll bar -2- on subframe -1-. Hold anti-roll bar in position.
  • Detach anti-roll bar -2- from subframe.

Volkswagen ID.4. Removing and installing anti-roll bar

Installing

Install in reverse order of removal, observing the following:

Tightening torques

  • ⇒ Rep. gr. 42 ; Assembly overview - anti-roll bar

Removing and installing coupling rod

Special tools and workshop equipment required

  • engine and gearbox jack - VAS 6931-
  • gearbox support - T10337-

Removing

  • Remove wheel ⇒ Rep. gr. 44 ; Removing and installing wheel .
  • Fit gearbox support - T10337- -A- to engine and gearbox jack - VAS 6931- -B-.
  • Position gearbox support - T10337- -A- on anti-roll bar -1-.

Important

  • Mounting of gearbox support - T10337- -A- only contacts anti-roll bar -1-.
  • Push anti-roll bar -1- upwards.

Volkswagen ID.4. Removing and installing coupling rod

  • Unscrew nut -4- from bolt -2- on upper rear suspension link -3-.
  • Pull out bolt -2-.
  • Unscrew nut -6- on coupling rod -1-. Counterhold on multipoint socket head on coupling rod -1- when doing this.
  • Pull coupling rod -1- out of anti-roll bar -5-.

Volkswagen ID.4. Removing and installing coupling rod

Installing

Install in reverse order of removal, observing the following:

  • Tighten threaded connections in unladen position ⇒ Rep.

    gr. 42 ; Raising wheel bearing assembly to unladen position .

Tightening torques

  • ⇒ Rep. gr. 42 ; Assembly overview - anti-roll bar

Volkswagen ID.4 (E21) 2021-2026  Service Manual

Volkswagen ID.4 (E21) 2021-2026 Service Manual

Anti-roll bar

Explore more

Featured ID.4 Guides

Selected owner and service information from our Volkswagen ID.4 manual library.

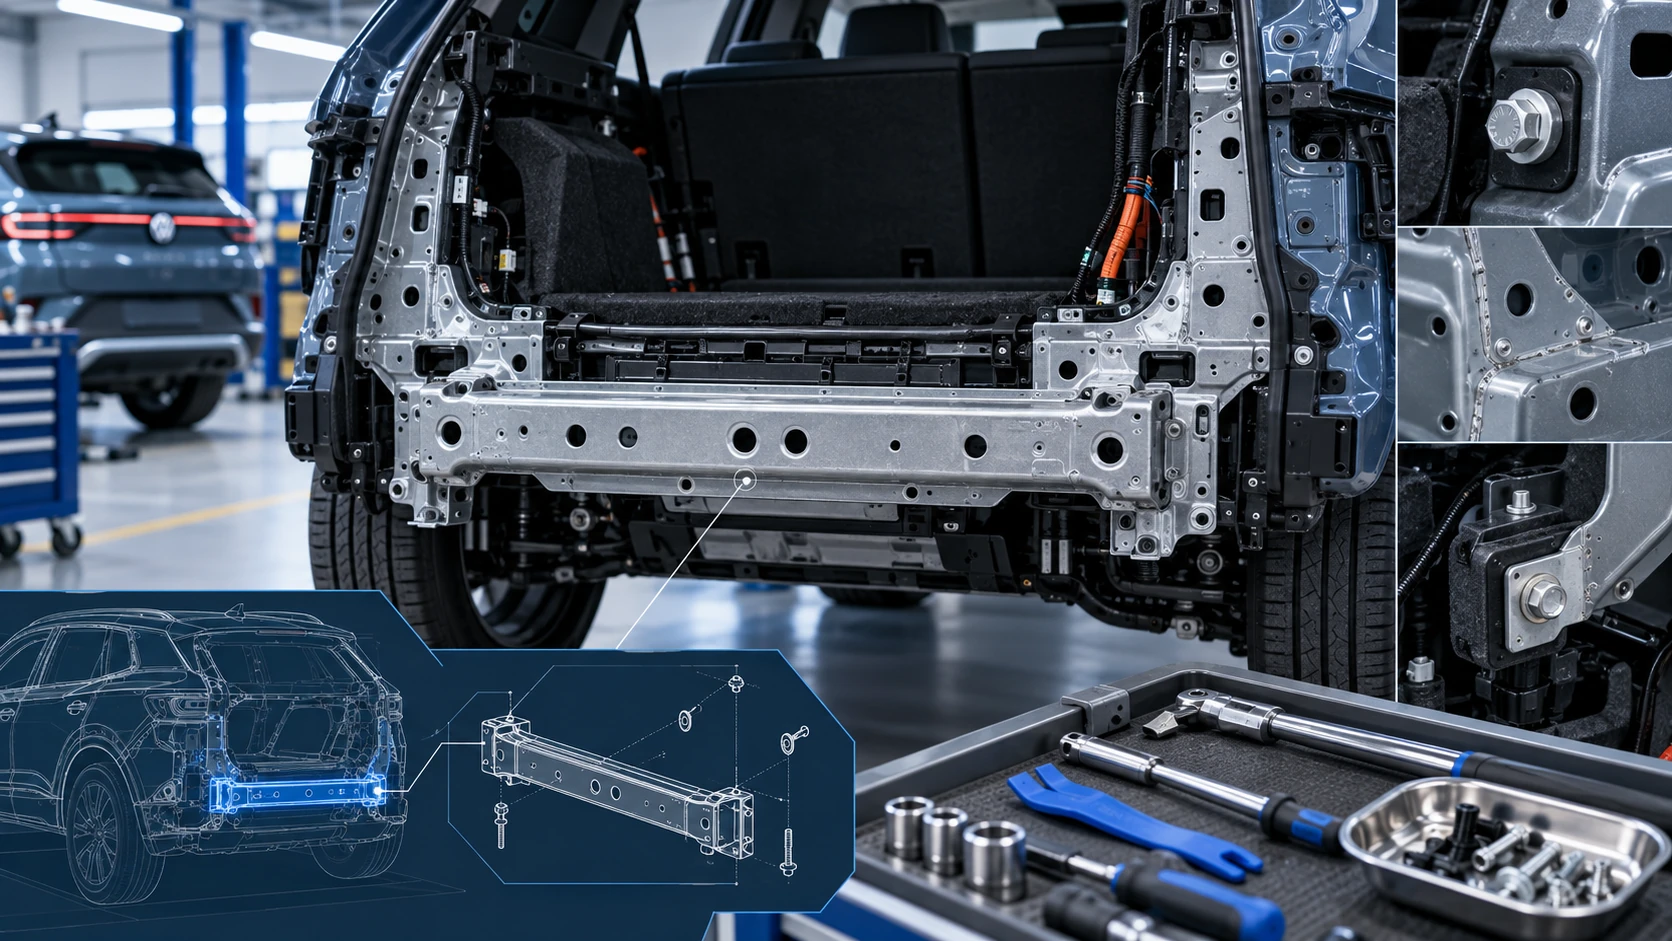
Rear Cross MemberID.4 Guide

Rear Cross Member

Service information for the Volkswagen ID.4 rear cross member, including component location, attachment points and repair-oriented removal and installation guidance.

Read guide